How many times have you seen backpackers walking around town with impossible looking loads with seeming ease? While a lot of people just throw in their gear thinking “Oh, this is just a rucksack, this is the whole purpose” on just the eve before the day of the trip, the fact is that there is a method to this madness and it is a properly packed backpack. And in that, people who know how to pack a backpack for camping are the happiest.
A well-organized backpack would make carrying the heaviest of loads look effortless. Packing a backpack is a skill that is different from packing a suitcase in many ways. Just imagine it, carrying a backpack on your shoulders is different from lugging a suitcase behind you. A suitcase has two large compartments and many sub-compartments to organize your clothes and accessories.
On the other hand, a backpack has only one large compartment which you can only access from the top, making it easier to access the item. But at the same time, if you have not packed it properly (especially on a camping trip), there is a good chance that you will mess it up, and getting to things would become difficult. That is why it is very important to know how to pack a backpack for camping.
Regardless, if you are sauntering along the streets of Europe, or packing for a hiking trip, these useful tips will teach you how to save time, not risk an injury and not waste space. Even though the backpacks of today have gotten fancier and high-tech and sure they allow you to carry more gear than ever, but packing a backpack the right way will take you a long way, quite literally!
Let us understand the basic anatomy of a typical backpack, starting with the various pockets because it is a step closer to understanding how to pack a backpack for camping.
Table of Contents
Pockets in a Backpack
No backpack is made similar and the design and pocket placement would vary from company to company, they still share common traits to help you pack better. To make the most out of your backpack, and keep the most essential items easily accessible, the pockets play a vital role, because they also effectively distribute the weight.
The 'Brain'
Commonly called the “backpacker’s brain”, this pocket can be found on the uppermost part of most bags and is used to store items that are often used. It is perfect for compact items such as headlamps, navigational tools and even snacks (another probable reason why it is called the brain). Some modern backpacks give you the option to remove this pocket (which can later be worn as a waist belt if desired).
If used properly, this pocket can save you a lot of time on your pit-stops.
The 'Kangaroo' Pouch
As the name suggests, this is stretchy pouch in the front of the backpack, which is largely not zipped up or is left unsecured (though lately, some companies are now providing Velcro locks). These pouches are used for the temporary storage of stuff such as gloves, rain jackets or maps while you are on a hike.
This pocket is handy if you want to get access to something quickly, like you would, from a jacket pocket. Just avoid keeping heavy objects in these type of pockets because they have a tendency to slip out easily.
Pockets for Water Bottles
These are the most obviously named compartments that are placed close to the base of the backpack on both sides. They are easily accessible and can also be used to store stuff other than water bottles such as used underwear or socks (in case you are lacking a separate bag for them).
That Pocket near the Hip Belt
Sometimes, these pockets are also built into the hip belt. These pockets can also be considered quick-access pockets because you can store numerous items in here. This could be anything from accessing tissue papers to lip balm, and the best part is that you do not have to take the backpack to use it.
Do You Have the Right Backpack?
Knowing the location and usage of these different pockets is useful because it will help you decide if the backpack you want to choose for yourself is appropriate for your purpose or not. If you are going on a hiking trip that is going to be short term, these pockets alone will suffice.
If you do not fancy carrying the backpack on your back for long periods, some newer backpacks now come equipped with wheels (though, that would just negate the purpose of a backpack). You may want to check out some reviews, before actually deciding on a particular design. Maybe, less is better for you.
Packing the Backpack
Before you start to pack, you have to keep in mind two words — convenience and comfort. The convenience applies where you don’t have to take out everything and yet find the item you are looking for. By comfort, we mean that the load should be comfortable enough for you to carry and not cause any sway while you are walking, and that is only possible if you know how to pack a backpack for camping.
How Do I Pack It Comfortably?
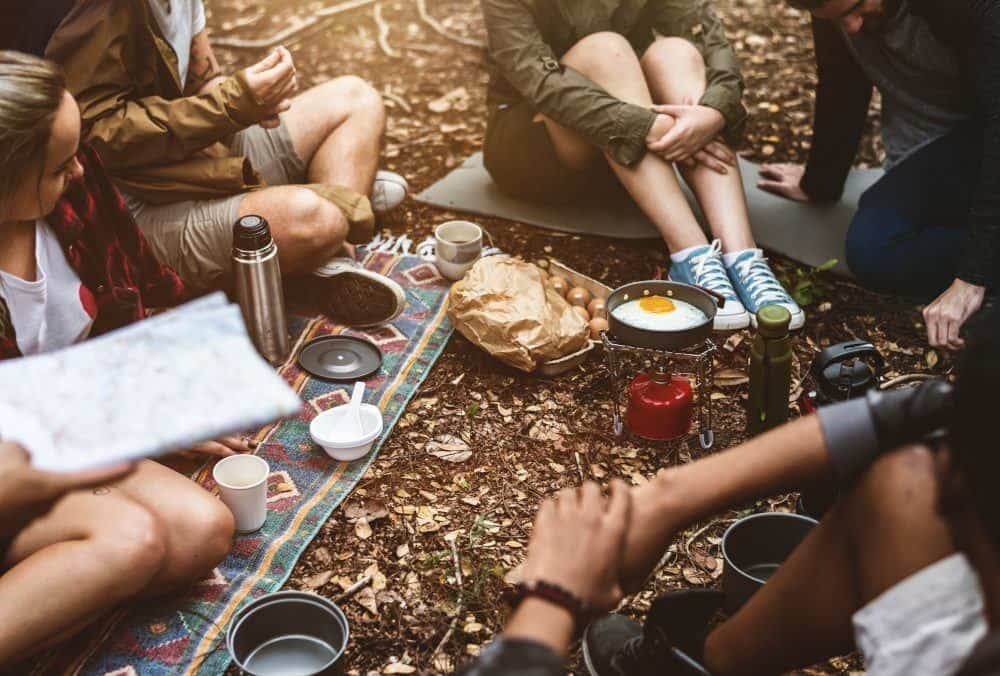
The trick is to maintain your center of gravity, by which we mean that as long as the heaviest of your gear is closest to your body, you should be good to go. Always, remember to pack water, cooking gear and foods (of any type) between the shoulder blades or near the shoulders. This will ensure that they remain in the center and do not swing around while walking.
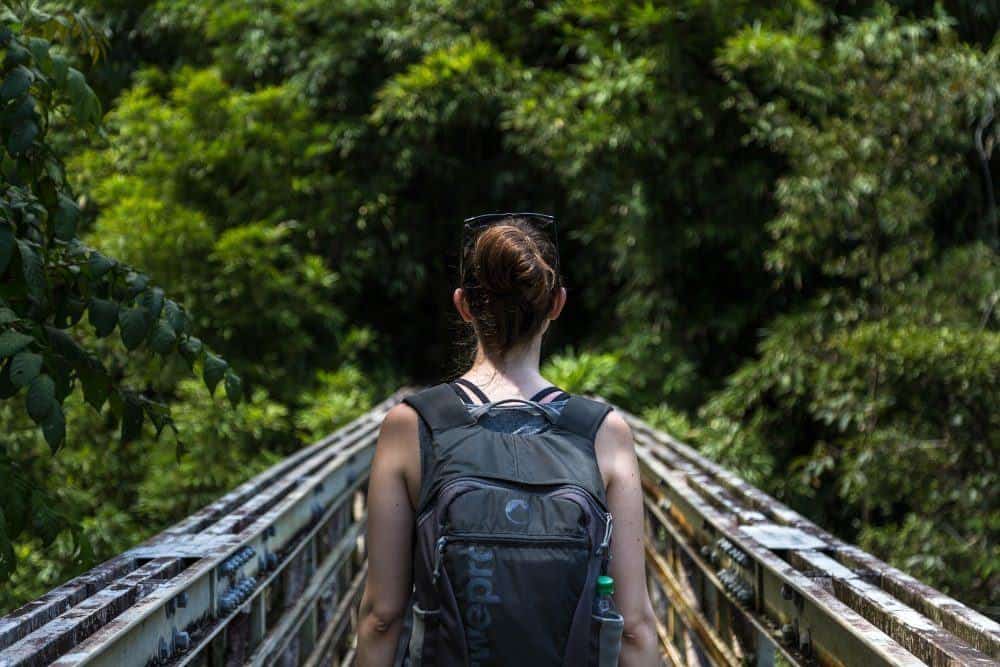
Do not wrap them in dense items such as jackets (unless you are, for some reason, carrying uncooked eggs in your backpack).
The most import tip anyone will tell you is this — never bring a brand-new backpack if you are going on a trip; you need to road-test it first. The best way to choose a pack is to put some weight in it, and wear. See if it is comfortable on your body and check if the shoulder straps are well-padded and stay in one place when you walk about.
Layer your stuff according to how you would need it. You will probably not use or need the sleeping bag in the day time, so you are better off packing it at the bottom of your backpack. Snacks always go in the upper part of your backpack as we already mentioned.
Is it likely to be windy afterward? Then maybe you should pack that jacket and cap near the top part of the bag.
Economize While Packing
It is easy to give into "just-in-case" items while packing for a hike. You have been wanting to wear that new canvas t-shirt, or that heavy dungaree you were looking forward to wearing on your hike, or the new slip-on shows that have yet to be tried on. What most people do not realize is that the backpack would get steadily heavier with every object that is added to it.

The most basic rule to backpacking is that you lay out everything that you will need on your trip. Better yet, write it down, point wise, as we will:
If you lay out all the options, you will find that you can significantly cut down on your wardrobe load and other accessories. Try to remove all the bulky clothing (unless you are on a trip to the misty mountains and actually do need those heavy jackets).
In some cases, you can remove the metal attachments from the backpack itself if you feel you don’t need it, cutting down even more weight. These frames are useful when you are carrying heavier loads and getting rid of them would greatly help.
Once you have decided on all the gear you think you may need, pack up the backpack, and walk about for a few blocks. If you still find it too heavy, you may want to cut down on some more stuff.
Packing It Right
Once you have decided on all the gear you want to carry, you will need to think about how often would you need each item. What are the items that you might be needing often? Items such as energy bars, snacks, rain jackets, lips balms or sunscreens should be kept closer to where they can be found when you need them in a hurry. These places are front pockets, the top of the bag, or other pockets that are built outside the bag.
Protection from Rain
Just because you got caught in the rain does not mean you have to go the rest of the hike in moist, soggy clothes. Trust us, it is the worst experience ever. Pack your backpack, assuming that it might rain at any moment. You can invest in a backpack that is waterproof, to begin with, but if you have to make do with what you already have, we have some tips.

Using Trash Bags
This is one of the cheapest ways to waterproof your existing or new (if it is not waterproof) backpack. Before starting off, pack all your belongings in one big trash bag before putting it inside your backpack. Take out as much air as you can from the bag and tie a loose knot at the top. Always remember to add water protection for your sleeping bag, because you do not want to sleep in a wet bag.
Rain Cover
You can also buy a rain cover off the shelves or order one online, and this will act as the first line of defense against rain. Stash this rain cover where you can access it easily in case of an emergency. You can let your items be in the trash bag for added protection.
Compression Sacks
These are a slightly more expensive alternative to garbage bags because they are made of better material. Trust us, these will come in handy if the rain really starts to come down heavily.
The Final Word
Hopefully, by now you have learned the basics of how to pack a backpack for camping. As you have figured by now, it is not a hard task, but just a matter of having a little patience and listing everything you need and leaving behind anything that you do not. If you feel like your current backpack cannot handle your requirements and you need a new one, check out our hiking backpack reviews to see our recommendations for both budget and brand name camping and hiking backpacks.
