The tickets have been booked, the visa has been issued, the Lonely Planet guide book has been read and reread, all the key places you want to visit have been highlighted with colorful marker pens, you have spoken to fellow backpackers to learn more about the place, where to stay, what to eat, the best practices, you have taken care of all the things that need to be addressed while you’re away and now the only task left is packing.
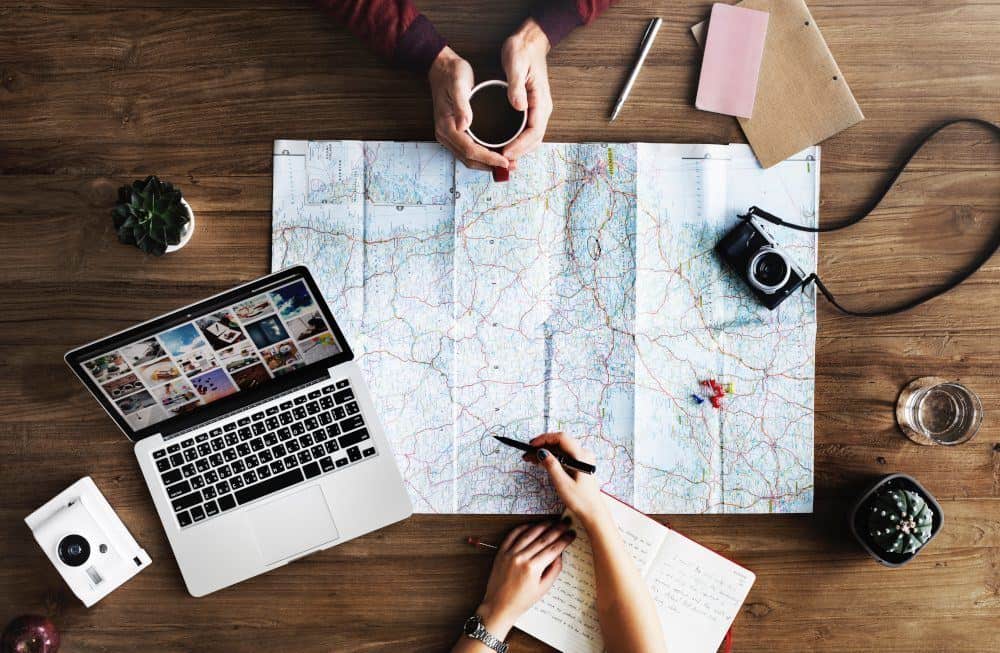
Packing a for backpacking trip can be a daunting task if you are new to it. The ratio of available space to the number of things to be packed might seem grossly disproportionate. However, once you learn the subtle art of how to pack a backpacking backpack you will realize it’s not as daunting it seemed initially. But it’s not all about the art, there’s a science behind how to pack a backpacking backpack as well.
Experience backpackers learn or discover new tricks of packing a backpack with every trip. For beginners or those who don’t have enough experience, this guide will provide you all the information you need about how to pack a backpacking backpack.
Table of Contents
Plan Before You Pack
Before you get down to the actual task of packing, you need to plan and create a strategy. It isn’t as complicated as it sounds. Essentially, you need to assess what items you need to carry with you on this trip, which will vary depending on the place you’re traveling to, the time of the year, the duration of the trip, and then you need to determine the level of access you need to each of the items in the backpack at every stage of the trip. The planning for how to pack a backpacking backpack can be broadly divided into three phases.
Create a Packing List
Creating a list of everything you need to and want to carry with you on this is critical. It will help you prioritize between items as the backpack starts getting full and you need to pick one item over another. It will also act as a checklist and ensure that you have packed everything that you need. Arrange all of the items on your bed or on the floor into piles. For example, all clothes, including t-shirts, pants, jeans, shorts, etc. go into one pile.

Similarly, all documents such as passport, photocopies of passport, visa, insurance documents (if required), driving license (if you plan to rent a car), etc. go into another pile. The other piles will be toiletries, a medical kit, electronic items and gadgets, and a pile for miscellaneous items.
Filter
This is probably the most difficult phase during the planning process, but it’s the one that you will be thankful you went through with when the backpack will be noticeably lighter. Get rid of any item you reckon you can do without during the trip.
Do you really need five sweatshirts or will two be enough? Do you see yourself wearing those fancy shoes at any point during the trip? If no, then get rid of it. Do you need to carry your laptop and your iPad or will one of the two do just fine? Do you need to carry books or can you read them on your iPad?
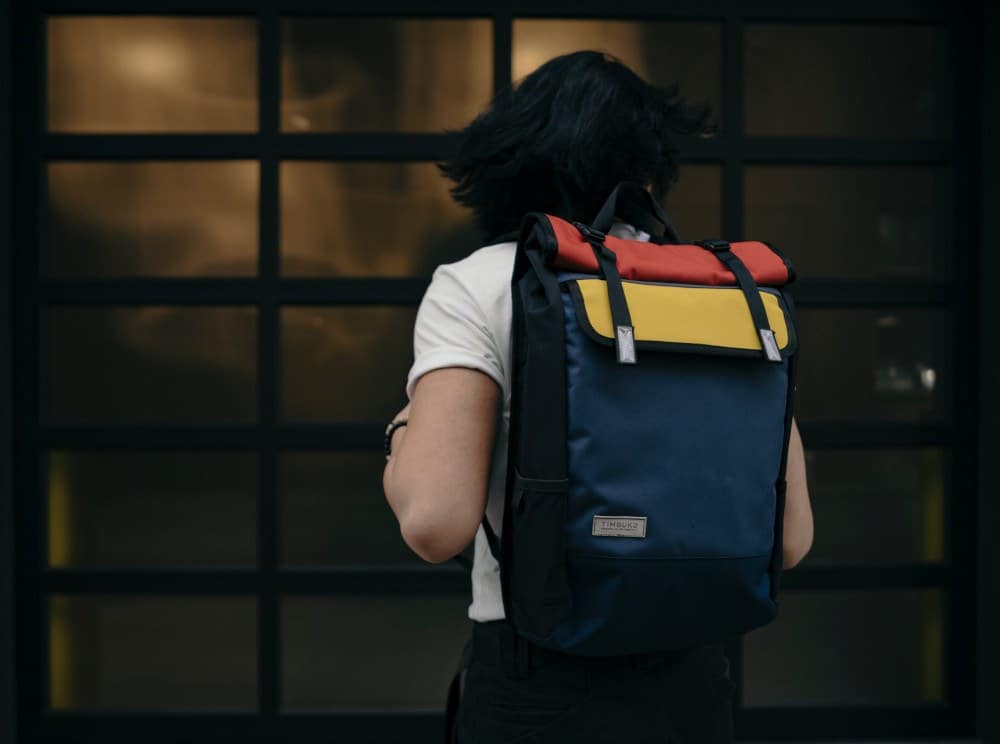
These and others are some of the questions you need to ask yourself and slowly filter out items from the various piles you’ve created. Remember that the primary goal is not to reduce the weight of the backpack. If you love photography and want to click lots of photos during this trip, then, by all means, carry your entire collection of camera lenses, irrespective of the weight. However, if you’re more likely to click most of the photos on your smartphone, then it doesn’t make sense to carry a heavy DSLR along just because you have one.
Trial Run
You’ve discarded all the things you believe are non-essential, but that still doesn’t mean all that’s left will fit into the backpack. So, you need to try it out. Start packing your things into the backpack (based on the final packing instructions provided later in this article) to assess if you need to get rid of more items or if there’s space left for some of the discarded items to be brought back. However, you don’t want the backpack to be so full that it appears it might burst at any moment.
It should be full, with some empty space at the top. This is important for two reasons. Firstly, you might pick up things during your trip, which will require space in the backpack. Secondly, you will not have the luxury of time during the trip to pack as meticulously as you do it initially. So, if there’s some empty space in the backpack, it will ensure that even if you mess up the packing technique during the trip, you will be able to pack everything in.
Final Pack
The holy grail of how to pack a backpacking backpack is to start from the bottom and slowly fill it up to the top. There are two basic techniques to packing a backpack. You can either use the roll and coil technique or the layered packing technique. Since there’s no "law" against combining the two technique that’s the ideal approach.
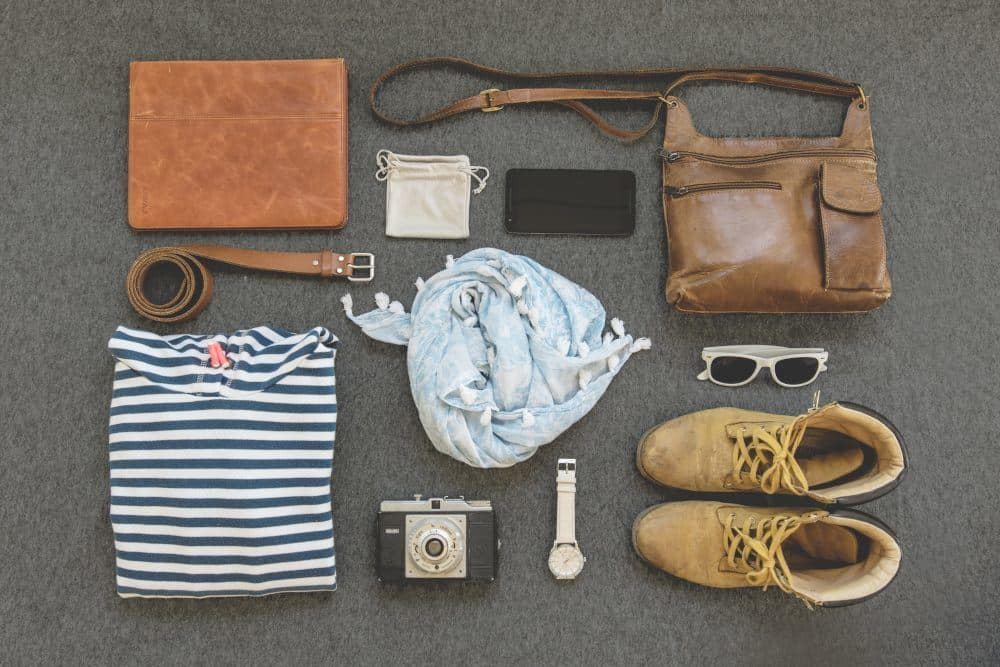
- 1Roll and Coil: Unlike trolley bags (hard-side or soft-side) or even duffel bags, backpacks tend to squish and crease clothes carried in them. The roll and coil technique prevents this to a great extent. Firstly, the clothes in question, be it t-shirts, trousers, shorts or sweatshirts, need to be folded properly. In case of t-shirts and sweatshirts, the arms need to be folded in towards the chest and then the t-shirts or sweatshirts or other similar garments need to be vertically folded in half to create a thin strip. This can now be rolled into a compact roll. Individual rolls can be tucked into corners and gaps or laid flat. In case of trousers, jeans, and shorts, these need to be vertically folded into half and then rolled. The trousers and jeans can also be rolled horizontally to create a long roll and then coiled up like a snake, before packing them in.2Layered: Placing clothes in layers on top of each other, and in separate groups, ensure that your entire wardrobe for the trip is perfectly organized. You will know exactly where the t-shirts are, where the trousers are, and where the underwears are. You can unpack them easily in groups. There will be no need to go digging into the backpack in search for your favorite t-shirt. At the time of packing it up again, you can simply place the separate layers back in, starting from the bottom. The only issue with this technique is that unused empty spaces will be left in the corners, where rolled up clothes could have been stuffed (more on this later).
Now, let’s take a look at each item or group of items and find out how each needs to be packed.
Sleeping Bag and Tent
There are backpacks that provide access to the items at the bottom through a zip. If this is the case with your backpack, then you can store your sleeping bag and tent at the bottom. You need easy access to it, which the zip at the bottom will provide.
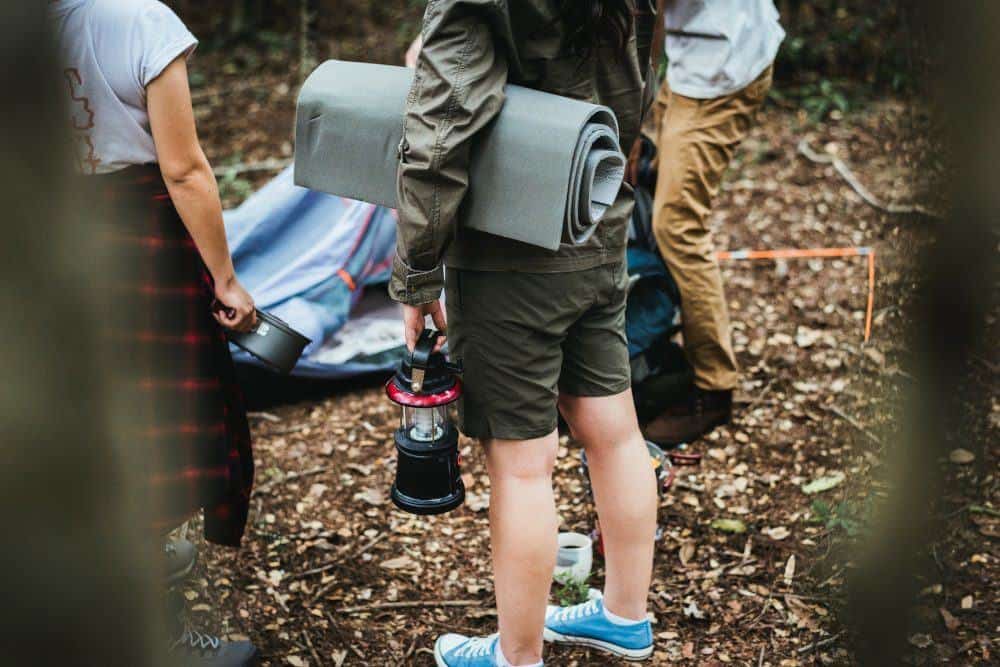
At the same time, the sleeping bag and tent will create an even and stable base for your backpack. Ideally, you should buy a backpack that provides an easily accessible separate section at the bottom, but in case your backpack doesn’t have this feature, the sleeping bag and tent will have to be packed close to the top.
Trousers, Jeans and Shorts
In case you’re not carrying a sleeping bag or a tent or both for this trip or there’s no separate access to the bottom of the backpack, then the trousers, jeans, and shorts will become the base for your backpack. You can put these into cotton drawstring bags and place them flat at the bottom. The drawstring bags will act as an extra layer of protection and keep them clean for a longer period of time.
T-shirts, Sweatshirts, Hoodies, and Jackets
If you’re carrying sweatshirts, hoodies and/ or jackets, these can be laid flat at the bottom as well to further solidify and stabilize the base. If your current location is a warm weather place and you’re heading to colder climates, then pack one sweatshirt, hoodie or jacket, depending on how cold it’s likely to be and what you prefer, close to the top. This will ensure you won’t have to dig deep into the backpack to retrieve one when you reach the destination.
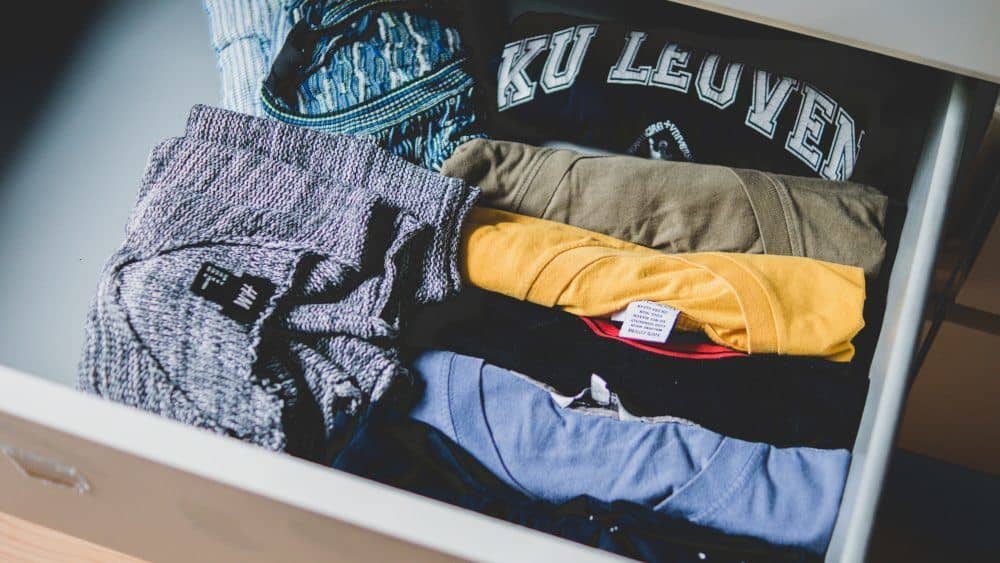
The t-shirts can be packed in two different ways or in both, depending on how the rest of the items fit in the backpack. Similar to the trousers, jeans, and shorts, all of the t-shirts you’re carrying can be placed in cotton drawstring bags and laid flat. This will continue the layered theme and will ensure the backpack is organized. Typically, t-shirts are rolled up and stuffed into corners and gaps.
There are a few reasons why rolling up t-shirts makes sense. Firstly, there’s a lot of empty space in the corners and gaps left in a backpack as it’s getting packed. The rolled up t-shirts (as well as socks and underwear) can be easily stuffed into these corners and gaps. In the process, these empty spaces get used up and leave more space in the center of the backpack for items that can’t just be stuffed in. Secondly, if the t-shirts are rolled properly, then there’s little to no creasing on them even after they’ve been stuffed into corners. Thirdly, these rolled up t-shirts create a cushion for more fragile items such as camera equipment, and gadgets packed in the center of the backpack. They act as shock absorbers. Finally, stuffing a few rolled up t-shirts towards the rear end of the backpack creates a cushion for your back as well, while you’re carrying the backpack.
There’s a layer of cushioning provided by the backpack itself, but often it’s not enough when you’re carrying the backpack for long hours. This extra cushioning provided by the rolled up t-shirts prove to be really helpful in such situations.
Fragile Items
Your camera, gadgets and other electronic items that you might be carrying will all be stored in the middle of the backpack. The base layers provide protection from the bottom, the rolled up t-shirts protect these from all sides and the items that are packed up top provide additional protection. You will have to make a decision regarding whether you want to pack all of these gadgets into the backpack or if you want to carry them separately.
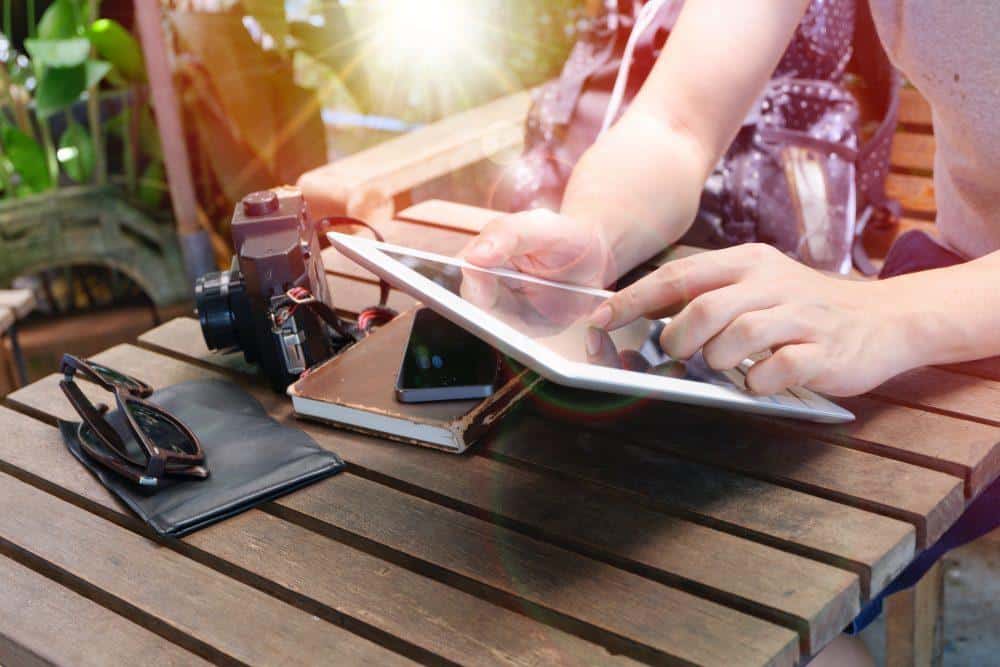
The camera bag is specially designed to safely carry the camera. The same holds true for the laptop. But carrying multiple bags will complicate your life to no end. Instead, buy a long roll of bubble wrap and wrap each of these items and pack them in the center of the backpack.
Carry a small daily backpack with you, which you can use to carry these gadgets for each destination you visit. This daily backpack will also come in handy at the airport and during your flight. You shouldn’t leave expensive camera equipment and other gadgets in the backpack, during the flight. You can use this smaller backpack to carry these things as cabin luggage.
Toiletries and Medical Kit
You will need sturdy ziplock bags or pouches with zips for both your toiletries and medical supplies. These ziplock bags or pouches will then be packed into the backpack. These need to be kept close to the top, because you will need access to them regularly (in case of toiletries) or in emergency situations (in case of medical supplies). If your backpack has good quality and big enough external pockets, then your toiletries and medical supplies can be stored in them as well.
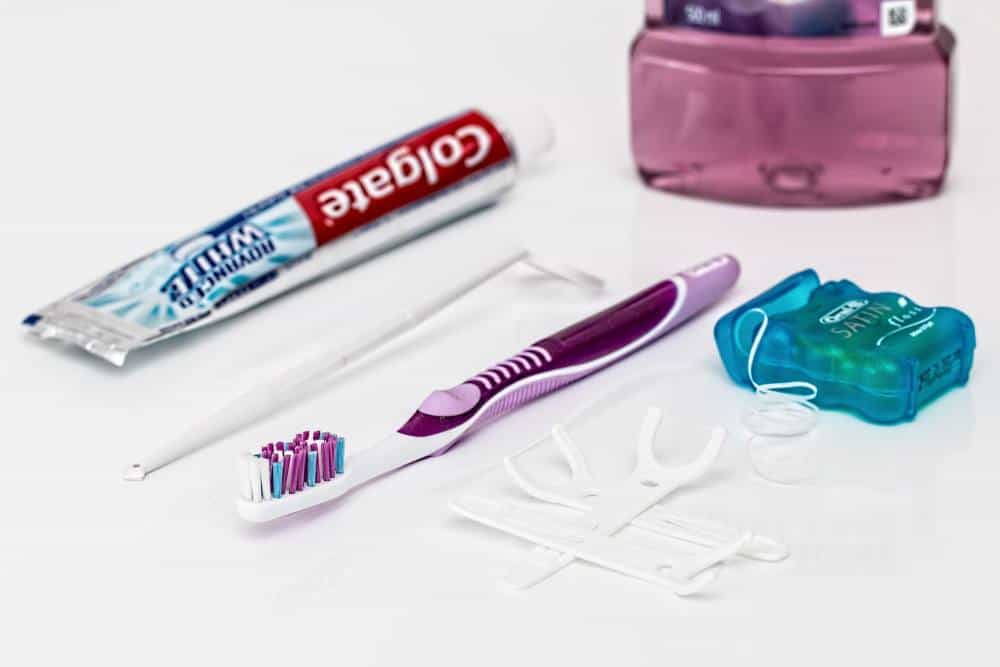
By putting these items in ziplock bags or pouches you’re protecting other things inside the backpack from spillage, it doesn’t harm to be extra careful. Wrap the ziplock bags in a polythene bag or if you don’t like polythene bags, use two or three ziplock bags to provide extra protection. It’s better to be over cautious than to discover shampoo spilled all over your camera lenses.
Documents and Other Essentials
Ideally, you should have a separate waist bag or travel pouch for your essentials like your passport, money, credit cards and mobile phone. You can keep it inside the backpack while traveling from one place to the other, while you can carry just the waist bag or travel pouch when you’re exploring the place. If kept inside the backpack, these should be right at the top and immediately accessible.
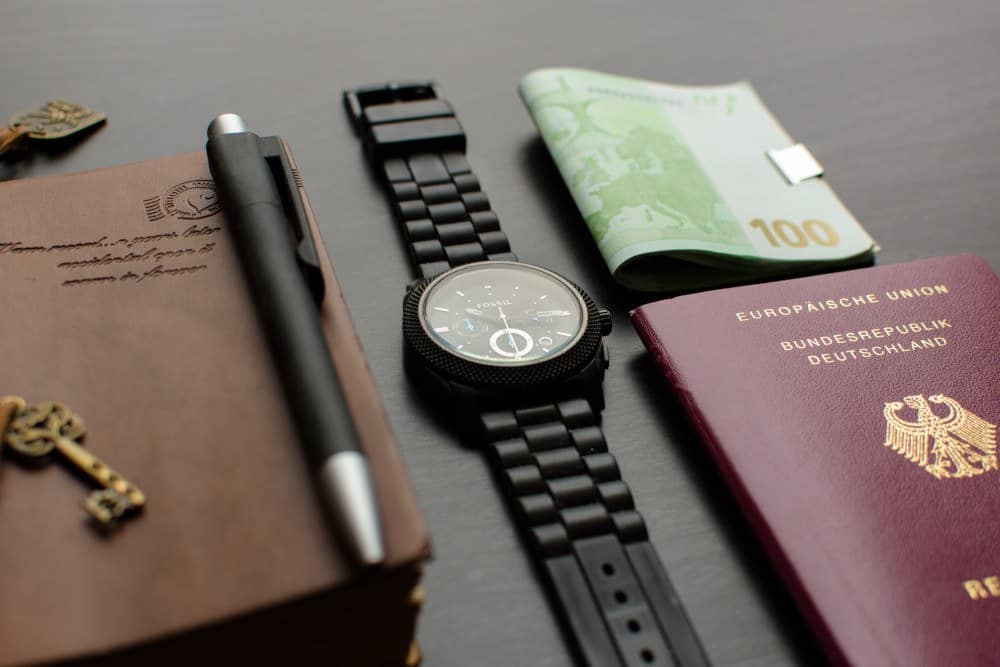
Similar to toiletries and medical supplies, you can store documents and other essentials in one of the external pockets of the backpack if the pockets are good and big enough.
Conclusion
Remember that there are a number of things that can be bought cheaply, used and discarded at the place you’re traveling to. For example, most of the items in your toiletry bag like shampoo, toothpaste, and toothbrush are available at essentially the same price almost everywhere. So, there’s no point in carrying these with you. The same holds true for clothing items like t-shirts and shorts, especially in Asia and South America.
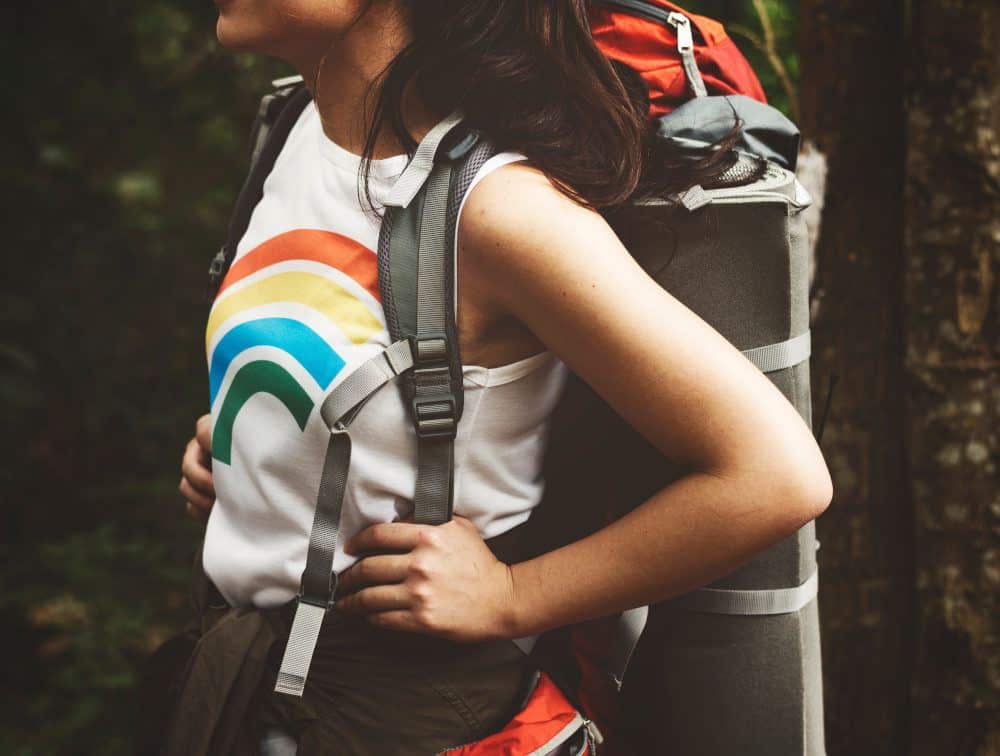
Carry a couple of t-shirts and shorts and buy a couple more at the local market there. This will not only save you on essential space but make you feel like you’ve picked up something locally from your travels.
Resources:
St Christophers
REI
