If you are an outdoor enthusiast, the first thing you should learn is to how to waterproof a backpack. Depending on how prepared you are, it can make or break a hiking experience. In any case, regardless of how stable the weather you think is going to be, it always pays to be prepared for the worst kind. And one of the most common turns in weather is moisture because it can get very moist, very quickly while you are up in the hills in the form of mist, fog or rain.

If not for the sudden turn of weather, you can encounter water in other unexpected forms; you may come across a stream that you must cross, or the trail could consist of puddles which, in turn, would create mud and dirt patterns all over your clothes and your backpack. And to protect the contents of your backpack, it should be waterproof.
Now it should be easy to just buy a waterproof bag off the shelves or order one online, but we all know it is not as simple. A lot of companies sell their products claiming that they are waterproof, but the truth is, that they are only water resistant, and if you are familiar with both terms, you know that there is a huge difference.
So what do you do with your perfectly fine and durable backpack that has been your companion on many trips? Do you give it away and look for a new one? If you are, then you should head here for a great backpack guide.
But why go through all the trouble when we can tell you how to waterproof a backpack at a really low cost? Note that there are dozens of methods to do so, but only a few of them are effective and they all have their positives and drawbacks. While you are free to try out any of these methods, we advise you to stick to the one method that works for you.
Table of Contents
Using a Spray and Seam Sealer
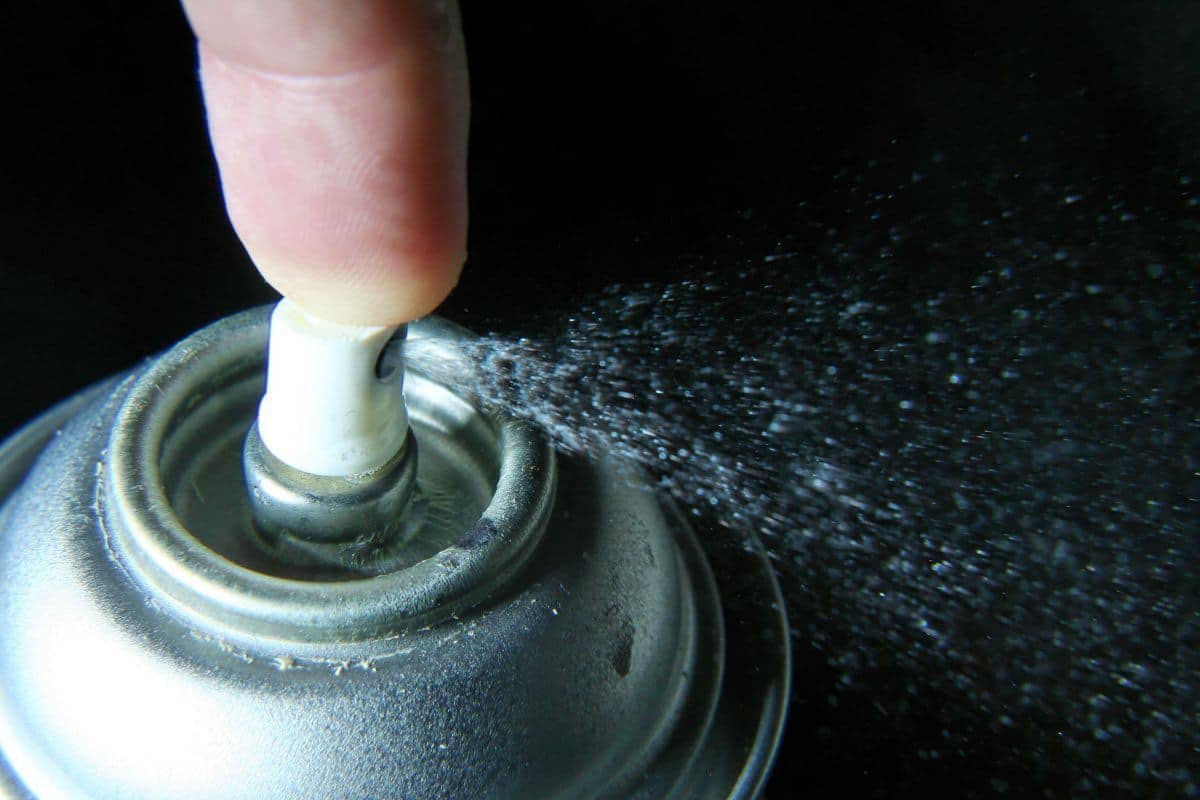
One of the easiest and most inexpensive methods to waterproof your backpack is to spray it with a waterproof spray. This preventive method seems like the most obvious thing to do (which it is!), and most people overlook it because of that very reason.

There are many products on the market will get the job done and usually, a 10-ounce bottle will do the job (depending on the size of your backpack).
Once you have covered the body of your backpack with this spray, you will have to take care of the seams on your bag. For this purpose, you can buy a seam sealer, which does exactly as it claims; it seals the seams and not affected by extreme heat or cold.
But regardless of whatever the companies claim, no spray can make your backpack 100% waterproof. The spray is good for a light to medium drizzle but will be most ineffective if in case the bag is submerged underwater (in case you are going rafting or kayaking). For this method to be effective, you may want to combine another technique with it.
Using a Dry Bag
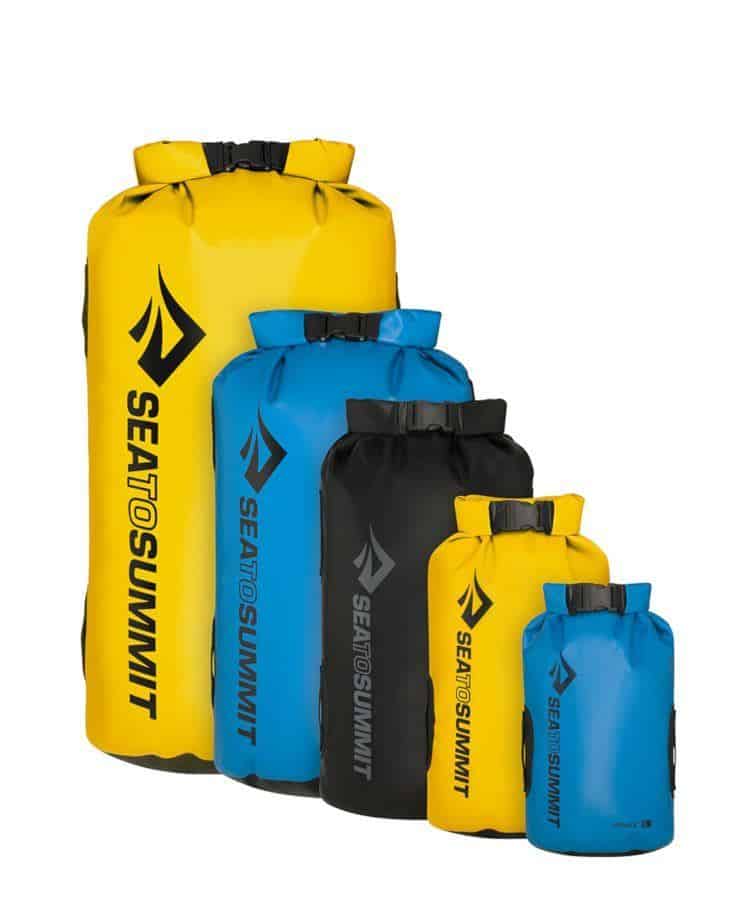
This is another simple method and a step forward to how to waterproof a backpack. A dry bag is exactly what it says; they are actual waterproof bags that are squeezed shut from the top and are excellent to keep your valuables safe and dry. These are large enough to cover a small backpack, or can be kept inside the backpack with your valuables and other gear in them.

Source: seatosummit.com
Dry bags are best used by rafters and kayakers because of their ability to float, in case they are dipped in water, and all you have to do is just allow a little air to be trapped inside. By doing this simple act, you can forget about tipping over and losing your belongings to water.
However, remember that these dry bags cannot replace your conventional backpacks because they just have one large compartment to hold all your stuff. These should only be used as bags that can be kept inside the main backpack.
Using a Rain Cover
As the name suggests, these are ideal for keeping your backpack dry in case of a sudden outpour or a light drizzle. These covers are made of waterproof material that is enough to cover most of your backpack and saves it from soaking or getting wet. The material is thin enough to be rolled or scrunched and stored in a small space when you don’t need it.

Source: amazon.com
Generally, these covers are kept inside the “brain” part of the backpack (somewhere handy is where it should be) and are pulled out only in case of drizzle or a downpour.
These covers are great if you are going on a mountain hike because they keep most moisture out, but if you are thinking kayaking or rafting, they are too flimsy for the purpose. These are only built for rainwater and hence have their limitations.
Another great use for them is to keep them on if you are walking about a city. This keeps all your pouches and zippers covered and keeps it safe from pickpockets (though you should not rely on that completely).
Using a Garbage Bag
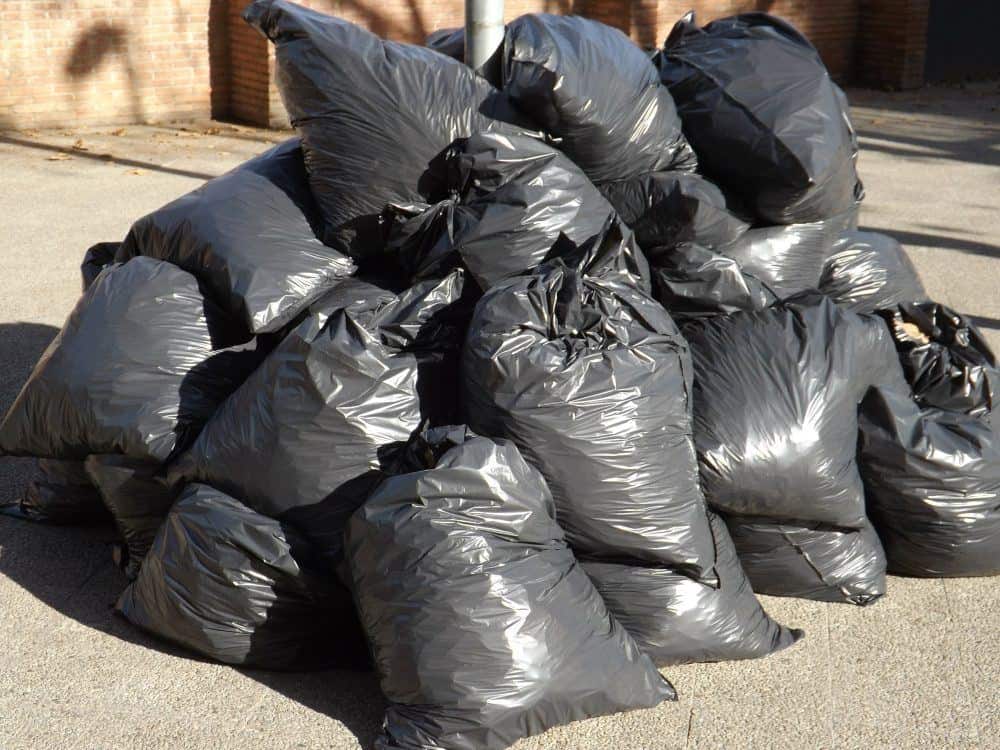
This is one time-tested method that every outdoor enthusiast will tell you when you mention “waterproofing” and is one of the cheapest tricks when you’re considering how to waterproof a backpack. This method works in a pinch if you do not have a rain cover or any of the other methods described here because it is the easiest to execute.

To do this, all you have to do is simply lay out an empty (and fresh) garbage bag inside your backpack. Feel free to use a large or XXL size, extra can be taped on the sides for more insulation. Once you have done this, simply line up your essentials inside the bag and tape the garbage bag over. Learn all about backpack sizes here in case you are wondering which one to choose.
You can also put the contents inside the garbage bag before putting it into the backpack. Also, it is a great idea to keep a few of these with you in case you need them in an emergency. They are readily available, really cheap and do not require a lot of space.
Using an Old Raincoat
Ever wondered what to do with old raincoats or ponchos? Those things last a long time but are usually replaced by newer and better ones. Well, don’t throw them away yet.

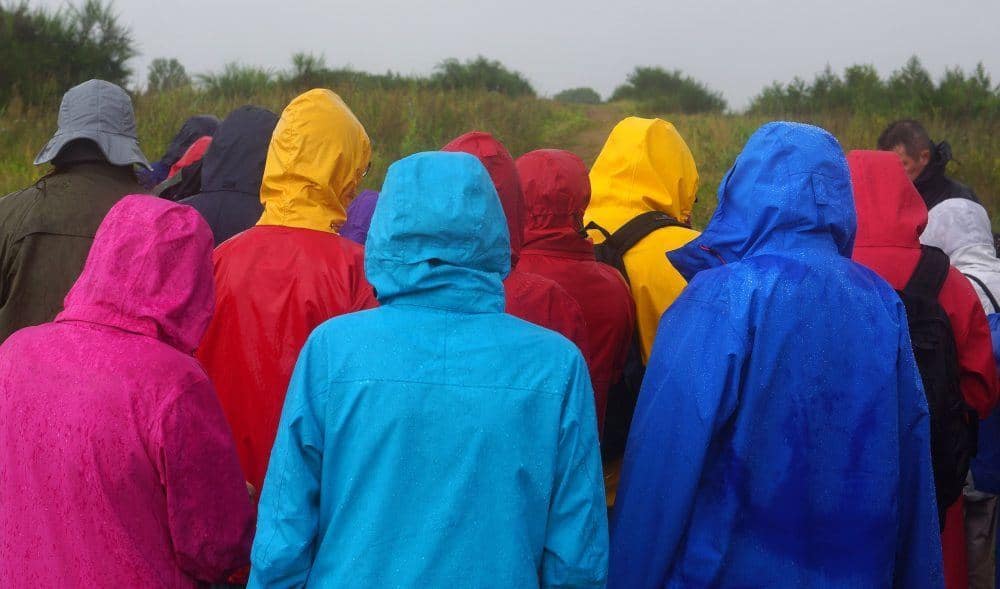
Cut open an old poncho or rain jacket, and line the insides of your backpack with it, covering every little inch of it. Don’t worry about the excess material; you can fold it over just like you did with the garbage bags. The only difference is, the material here is thicker and sturdier. The best way to keep this material in place is by stitching it into the bag (using nylon thread), but you can also use alternative methods to achieve this.
And there you have it! Combine this with the first method we prescribed, and you will have a bona fide brand new waterproof backpack! In case you have not stitched it, keep extra waterproof tape or quick glue handy, in case it starts coming apart.
Using Ziploc Bags
This is another great way to protect expensive gear such as smartphones, tablets, cash and other small stuff that usually goes inside your hip belt pockets and other pockets. Ziploc bags are available almost everywhere and in all sizes. The best part is, that they can be squeezed to keep all the air out to make more space.

Source: ziploc.com
You can pack items in individual Ziploc bags (food can also go inside them as it keeps the moisture out and keeps it fresh). Larger items such as sleeping bags and clothes can be also packed inside individual garbage bags for extra insulation.
You do not require each and every item to be waterproofed if the chances of getting your backpack submerged underwater are close to nil. But if your trip requires you to cross numerous lakes or streams, this is the ideal approach.
Using Rucksack Liners
We have already used a version of it earlier, but it doesn’t hurt to put down as many methods on how to waterproof a backpack. Rucksack liners, in broad terms, are nothing but plastic sheets of better quality but made of a thicker material, which are strong and light and prevent water from seeping inside your bag.

Source: osprey.com
These liners are usually available in bright colors, which is an advantage because in the off chance your backpack falls and rips (for example, if you are trying to trace it downstream), it will be easier to locate it.
The method is similar to the one we used with the garbage bag; place the liner inside the backpack and start putting your contents in it (like you would in your rucksack without it), until it has taken the shape of the rucksack. Once you are done, squeeze it tight to remove any air that is inside the backpack and quickly tie a knot at the end. A few manufacturers provide a bungee cord or an elastic rope to tie the ends. Push it back in before you secure your backpack. You don’t have to worry about moisture anymore!
Conclusion
This article explains the quickest and easiest ways to waterproof your existing backpack. But waterproofing also depends on how much effort, time and money you want to put into it. While it may seem like an unnecessary hassle to you at the time, the effort will pay off if you are caught in a sudden downpour. We suggest that you always keep a few garbage bags handy for that purpose simply because they are cheap and do not require much space, and can be easily replaced.
To make doubly sure to keep the contents of your backpack dry, use any two given methods from this article. You can alternatively check out reviews of great backpacks here if you are looking to replace your backpack.
